Course Settings
What is a course?
A course is how you deliver in-depth and intuitive learning, coaching and programs to your members, together with quizzes, assignments, and lessons on any kind of topic.
Courses can be private, where you assign them to members and control access, or public where members can take courses on-demand.
Courses can be free or membership settings allow you to charge a fee for course access.
Course Fields
Build your courses as you see fit, there’s no right or wrong way and the course builder is powerful enough to meet all your needs.
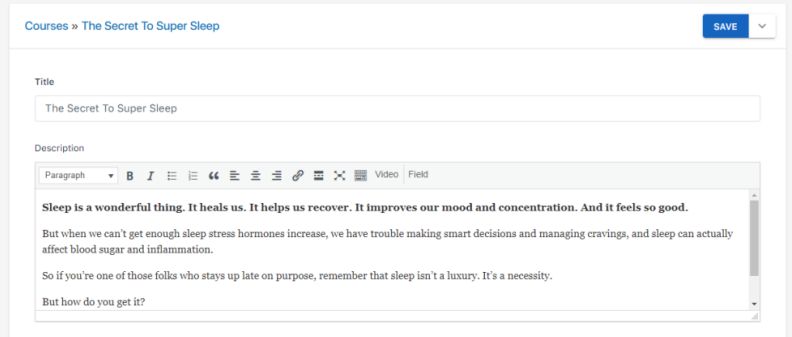
Course Title
Set a title for the course, making sure it’s concise and gives a good idea what the course is about.
Course Description
Provide a description, overview or structure of what the course provides and include any formatting, rich media, images, videos, etc. as needed.
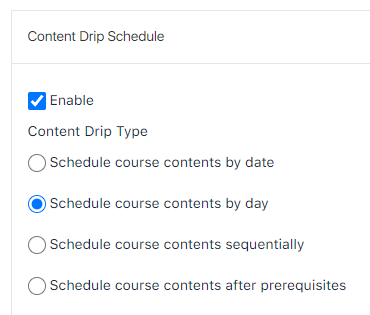
Content Drip Schedule
By default course lessons and quizzes are available to a member all at once as they work through a course.
The Content Drip Schedule option allows you to make lessons and quizzes available on a pre-set schedule, sequentially or based on prerequisites (completing other content before a lesson becomes available).
To enable drip-fed content click the Enable checkbox and choose the required Content Drip Type. You will need to click the Save action button at the top of the page before the change takes effect.
The Schedule course contents by date option allows you to specifify a distinct date when content will be made available to a member.
When this option is chosen a new field will appear when editing lessons and quizzes, allowing the date to be entered in the format YYYY-MM-DD.

The Schedule course contents by day option allows you to specifify days from when a member started the course, or specific days of the week, when content will be made available.
When this option is chosen a new field will appear when editing lessons and quizzes, allowing the days to be entered.
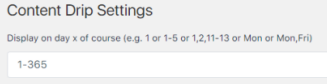
This option is very powerful and is ideal for regular check-ins, surveys, progress tracking, etc. and allows you to really fine-tune when content is made available.
Enter the day of the course, or day of the week, as required. For example, if you assigned a course to a member on 2021-11-21 (or they started a course on this date) a value of 1 would show content on this day, a value of 2 would show content on 2021-11-22, and so on.
A value of WED would show content to a member every Wednesday, a value of FRI would show content to a member every Friday, and so on.
You can enter ranges of days, for example 1-5 or 1,2,11-13 or 1-365 (for every day). You can also enter multiple days of the week, for example MON,WED,FRI.
The Schedule course contents sequentially option means a member must complete course content in a specific order and cannot move onto a next lesson or quiz until it has been marked completed or answered, etc.
There are no additional settings for this option, just make sure your course contents are in the correct order you wish members to follow.
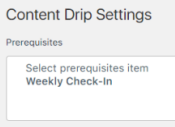
The Schedule course contents after prerequisites option allows you to specifify other content within the course that must be completed before this content can be viewed.
When this option is chosen a new field will appear when editing lessons and quizzes, allowing the required content to be selected.
Course Image
Upload an image for the course which will be displayed in the courses list and throughout the application.

Course Video
Attach an introduction video for the course which will be displayed before a member starts.
Videos can be attached from a number of different sources.
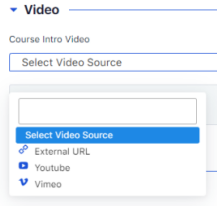
External URL where you’d specify the appropriate link to the video file.
YouTube where you’d specify the appropriate link to the YouTube video.
Vimeo where you’d specify the appropriate link to the Vimeo video.
Vimeo Video
The Vimeo Video option allows you to upload a video directly to the application, without having to worry about hosting, space, speed, etc.
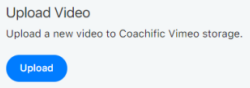
Click the Upload action button and you’ll be prompted to enter details about the video, browse for your video file, and upload to the application.
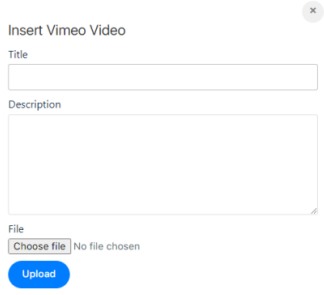
Once video uploading has completed the link to the Vimeo video will be automatically inserted to the Course Video field.
Course Visibility
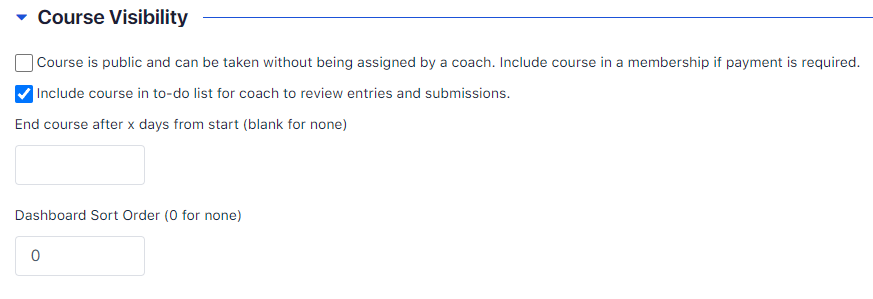
By default courses are Private and only accessed by members when you assign a course to them. You can control whether a course is Public and available to members on-demand by clicking the Course is public checkbox.
Public courses will be free for members to join unless you add the course to a Membership and set a payment amount, fees, etc.
You probably don’t want to be notified every time a member completes a course or answers course content, so you can choose whether to display course results in the To-Do section on your dashboard by clicking the Include course in to-do checkbox.
If a course only runs for a certain length of time or specific duration, you can control when it ends by settings the End course after x days from start field.
If you want public courses to be displayed in a specific order for members, you can set the Dashboard Sort Order accordingly.
Course Attachments
You can add file attachments, such as practice files, example files, etc. to a course.
Saving Changes
You can edit course information by adding or changing the fields you’d like to edit and click Save.

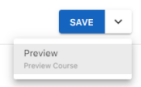
Preview Course
You can preview a course and view all content, lessons, quizzes, etc. by clicking the Preview action in the dropdown next to the Save button.
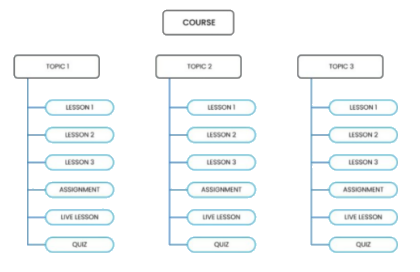
Course Builder
A course is made up of Topics, and Topics contain Lessons, Quizzes and (optionally) Zoom Live Lessons.
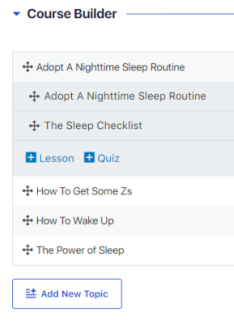
A Topic can contain multiple lessons and quizzes and “groups” them together in a logical structure. A course can have as many topics, lessons and quizzes as required.
Add New Topic
To add a new topic click the Add New Topic action button and the Add Topic fields will be displayed.
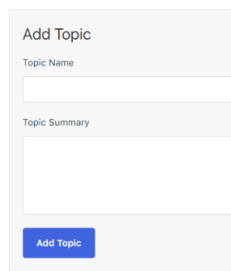
Enter the Topic Name and a short, concise, Topic Summary and click the Add Topic action button.
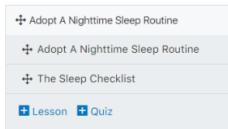
Once a topic has been added, you can click the Lesson or Quiz links underneath the topic to add course content.
Lessons
Lessons will make up most of your course content and to start enter a Lesson Title and the Lesson Content in the appropriate fields.
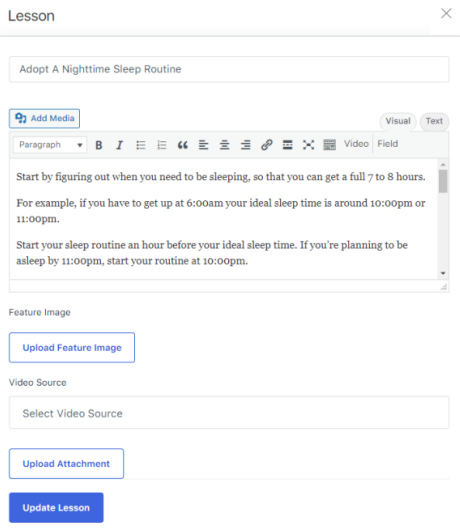
Lesson content can be as rich or as plain as needed, and can contain formatted text, images, rich media, such as videos & audio, and any other resources or materials.
Inserting Videos To Content
Insert a video directly within lesson content by clicking the Video link in the editor and upload a video directly to the application, without having to worry about hosting, space, speed, etc.

You’ll be prompted to enter details about the video, browse for your video file, and upload to the application.
Once video uploading has completed the link to the Vimeo video will be automatically inserted to the lesson content.
Inserting Fields
Inserting a field (or shortcode) lets you do nifty things with very little effort. Think of a shortcode as a shortcut to add features to your content that would normally require lots of complicated computer code and technical ability.
A shortcode is written inside two square brackets, for example [vimeo_video] automatically embeds a Vimeo video without having to worry about all the code.
Once you get used to shortcode syntax you’ll find you just type it in your content, but in the meantime you can click the Field link in the editor to help you build a shortcode.
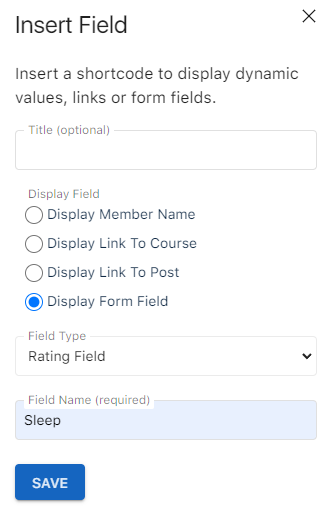
You’ll be prompted to choose which shortcode field you’d like to use and complete the appropriate values.
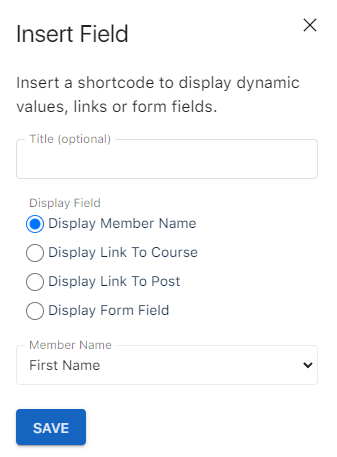
There are shortcodes for entering values about the current user, for example First Name, generate Course Links for a member to start a course on-demand (useful for creating your own workflow), Post Links to popup posts from the library (useful for creating workouts and instructions) and Form Fields for building fully interactive forms to capture measurements, values, or anything else you need to record.
Form Fields let you use built-in measurement fields, such as Weight, Waist, etc. or you can build-your-own with Text Fields, Area Fields and Rating Fields.
Take a look at the done-for-you courses to see shortcode fields in action.
Feature Image
Upload an image for the lesson by clicking the Upload Feature Image action button.
Video Source
Attach a video for the lesson by clicking the Select Video Source dropdown and complete in the same manner as the Course Video detailed above.
Upload Attachment
You can add file attachments, such as practice files, example files, etc. to a lesson by clicking the Upload Attachment action button.

Save Changes
To save your new lesson or changes, click the Update Lesson action button.
Quizzes
Quizzes allow you to add interactive course content and to start enter a Quiz Title and the Quiz Overview in the appropriate fields.
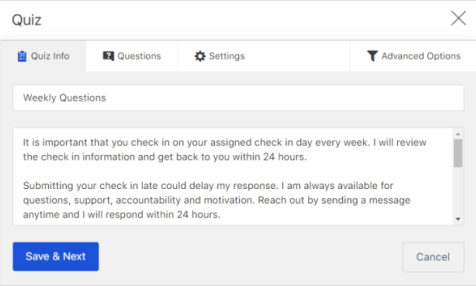
Click Save & Next to begin adding questions to your quiz.
Quiz questions can be added by clicking the Add Question action button and there’s no limit to the amount of questions that can be added.
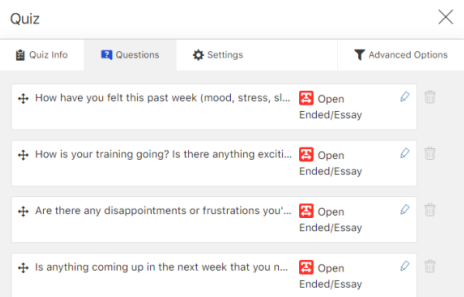
Questions can be presented in a variety of ways, from simple text answers to more featured fill-in-the-blanks or matching answers.
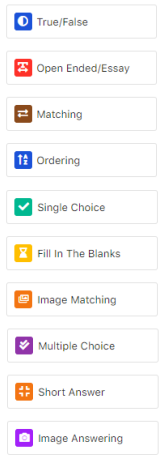
Add a short, concise Question Title and choose the required Question Type.
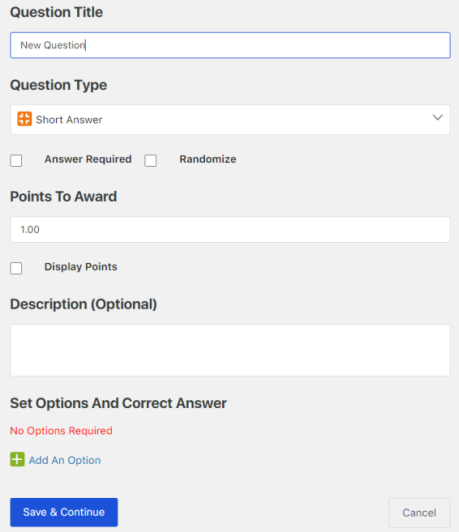
Each question type will have their own requirements, but complete Answer Required if an answer is mandatory, Randomize if you want a random order of questions, Points To Award for correct answers and Display Points to let members know what a pass mark might be.
Complete specific questions as needed, add any appropriate answers or options and indicate correct answers, correct order, etc.
Click Save & Continue to continue adding questions or manage existing questions.
Quiz Settings control how the quiz, questions and answers, appear and behave. Add Time Limits, answer modes, attempts, grades, etc. and click Save once done.
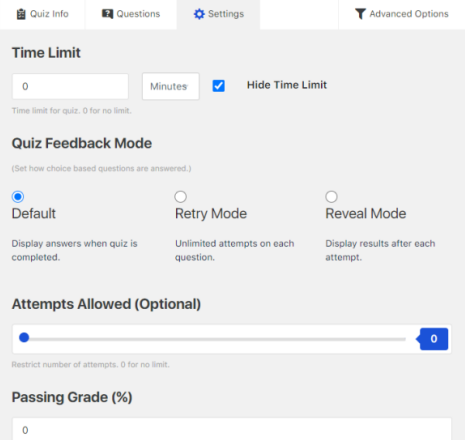
If Content Drip Settings have been enabled (see above), be sure to enter these settings as required for the quiz.
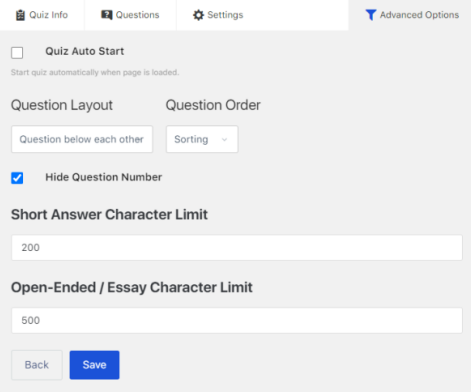
The Advanced Options tab allows you to further control how questions appear, character limits, etc. and click Save once done.
Quizzes really help to engage members and deliver an enhanced, immersive learning experience, by supporting all your content delivery requirements.